Thursday, March 17, 2011

Paper Roses…they’re only Imitation!

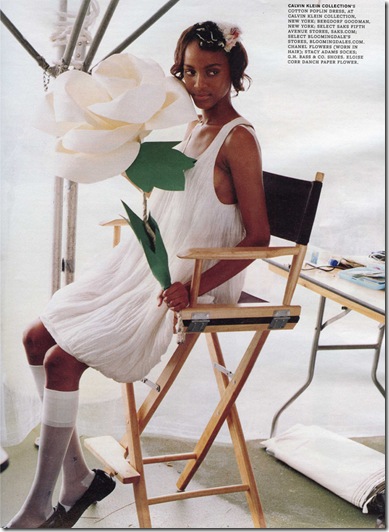
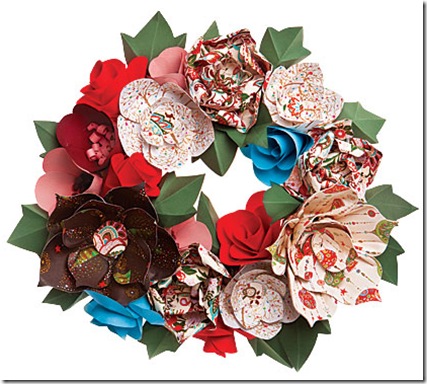
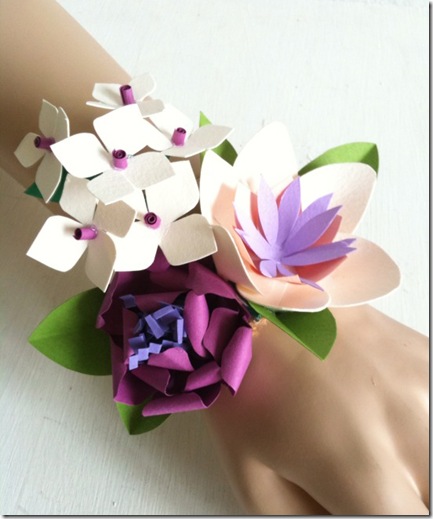
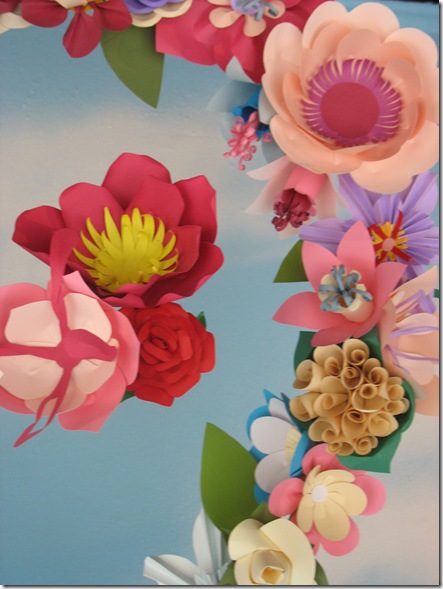
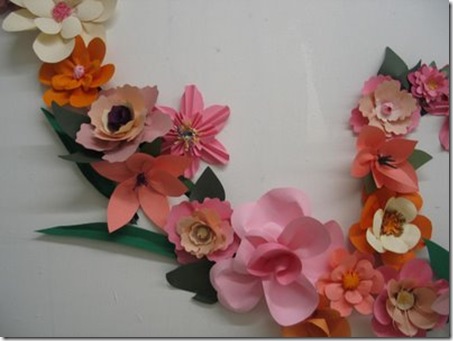
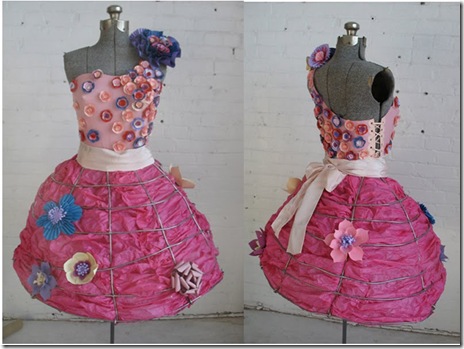
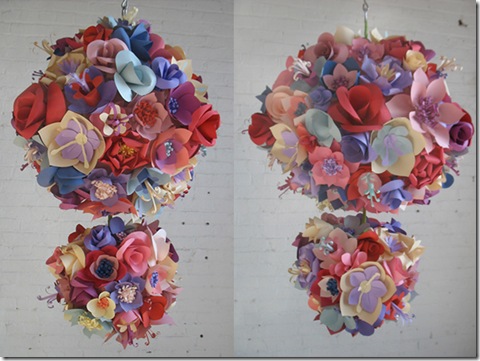
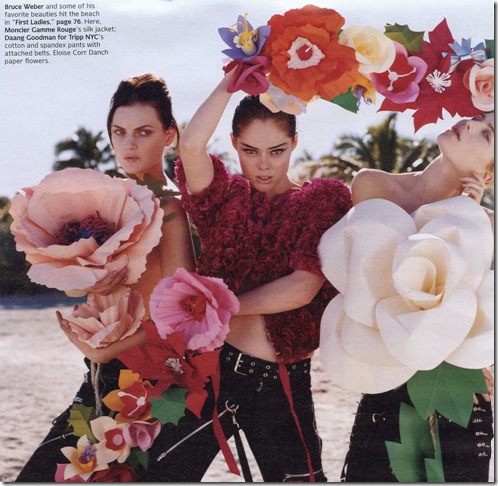
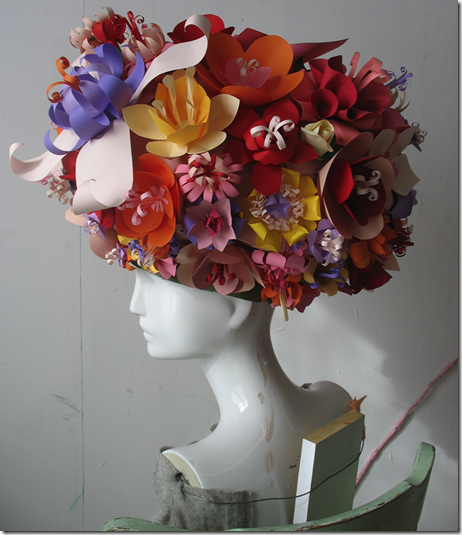
Oops!  Did I hear you humming an old 70’s tune by Donnie and Marie Osmond??  But they’re only im-i-ta-tionnnnn, like your imitation love – for – meeeee!  Enough of that.  I am working on some paper flower prototypes for a grandparent’s day reception at Michael’s school in April.  I remember seeing lots of paper flower options on Miss Martha’s website a few years ago when I was looking for details on making tissue paper flowers.  I came across a video of a very talented paper artist creating paper poppies with Martha.  Eloise Corr Danch has built herself quite a flower farm of incredibly designed petunias, pansies, and roses!  Take a peek…

Wimage33

2010-03-30_154035

bbopener101122_560

Corsage

EloiseFlwrDetailWEB

IMG_9054

SpringPaperDress

PaperFlowerBallChandelier

Wimage1picture-22

Wimage22

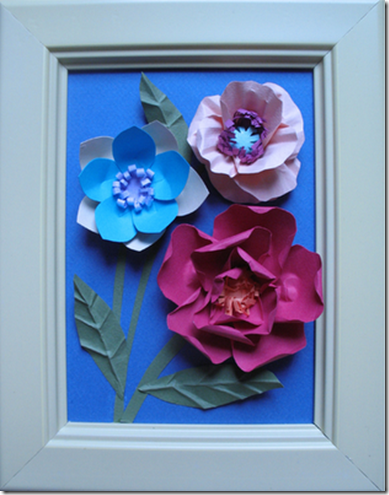
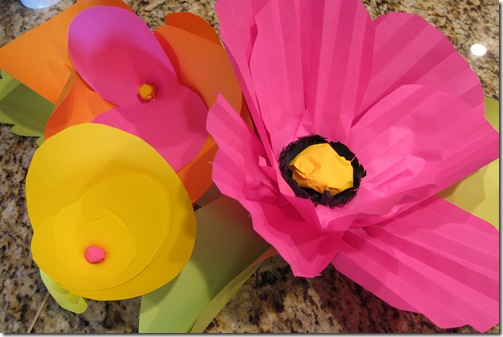
Whew!  Fantastic, don’t you think?  So here’s the part where I show you mine…fun to make but do not compare to all of the above!

IMG_1254

Wednesday, March 16, 2011

Refresh Your Easter Decorations!

Just move ‘em around to a new place and mix with other items already in your house to get a fresh, new look.  Super easy and very nice to your wallet!  Nice!

Dec20090065_thumb[1]

Last year found the Bunnykins on the English cupboard in the kitchen among silver baby cups and rustic miniature urns.

IMG_1234

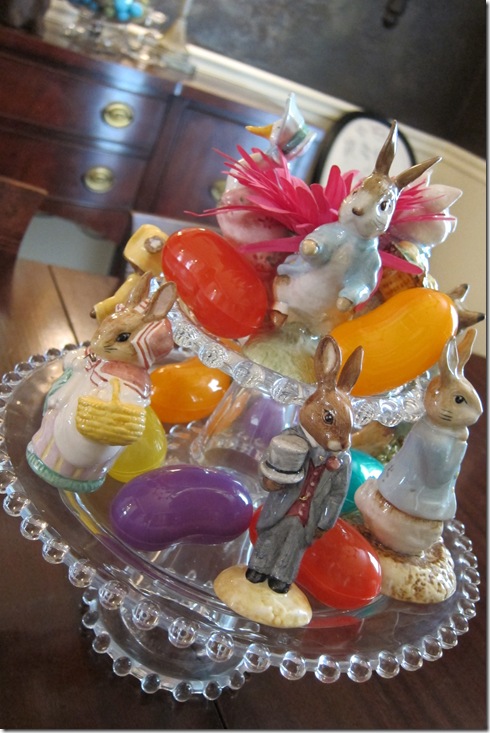
This year finds them on the dining room table perched on top of hobnob cake stands and nestled in between gigantic jelly beans.  The look is totally different and refreshing from the table scape seen below on last year’s table!Dec20090037_thumb[8]

 Dec20090043_thumb[1]

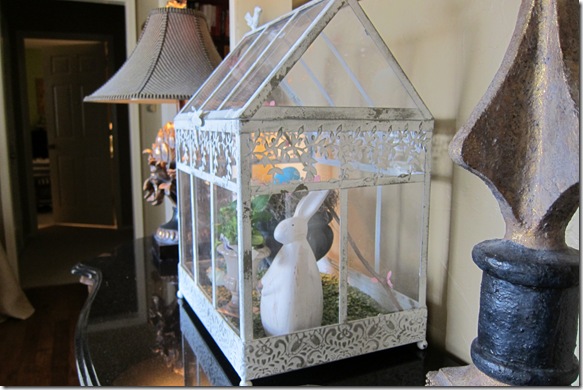
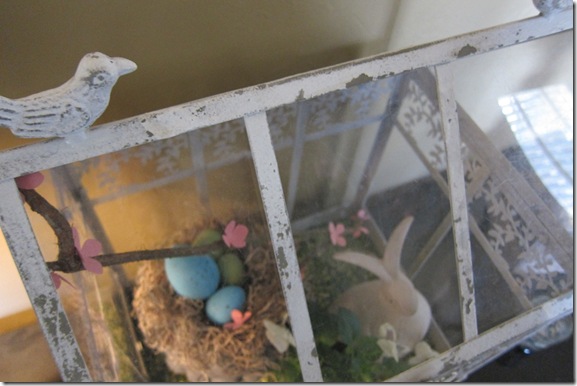
A collection on different bunnies in cloches and a large lidded jar of speckled eggs were on the credenza in the foyer last season.  A rustic iron terrarium is now in it’s place and houses a spring habitat complete with bunny, urn with a robin’s nest, another urn with pansies and a quince twig.IMG_1256

Look closer to see the terrarium lined with dry split peas, the “nest” is Spanish moss, and the “quince” blossoms are make from paper. 

IMG_1263

Dec20090023_thumb[4]

Malted milk eggs, pink Peeps and pink tulips gave a whimsical look to the buffet in the dining room…

IMG_1267

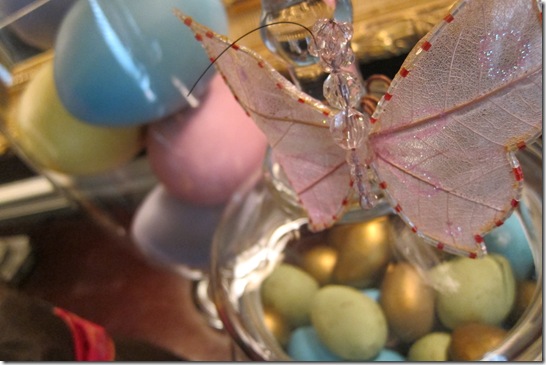
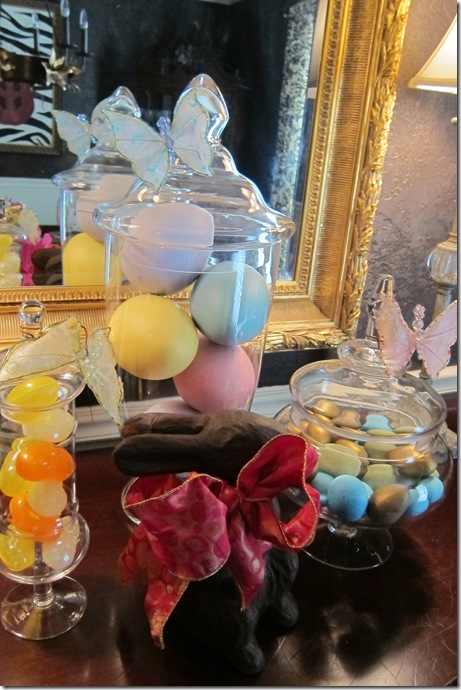
now a trio of paper butterflies grace the top of each of the lidded glass jars filled with gold and speckled eggs, large pastel Easter eggs, and over sized jelly beans!  And the chocolate bunny has been moved to center out the arrangement.

IMG_1269

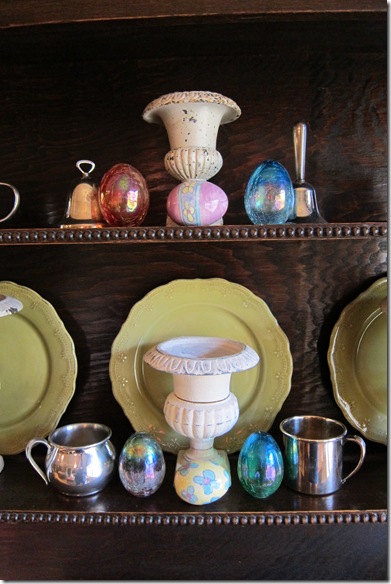
Which brings us back to the beginning…the English cupboard was simply outfitted with a small collection of eggs amongst my steadfast urns and baby silver.

IMG_1270

And some things will never change…the little French waiter bears a tray of Easter eggs for your pleasure.

Dec20090019_thumb[2]

The Autograph Chairs

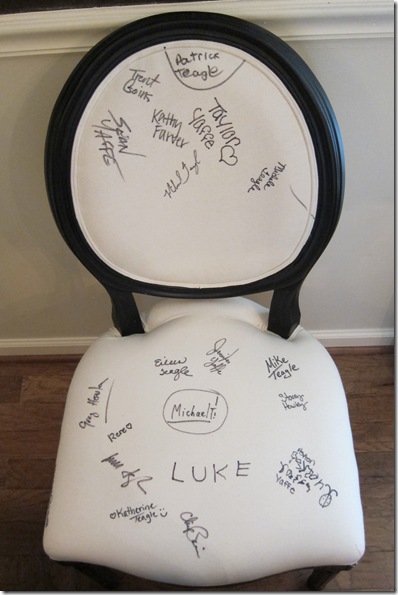
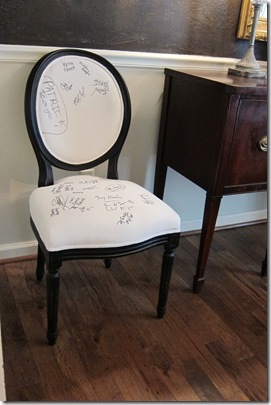
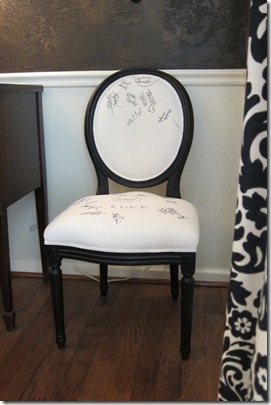
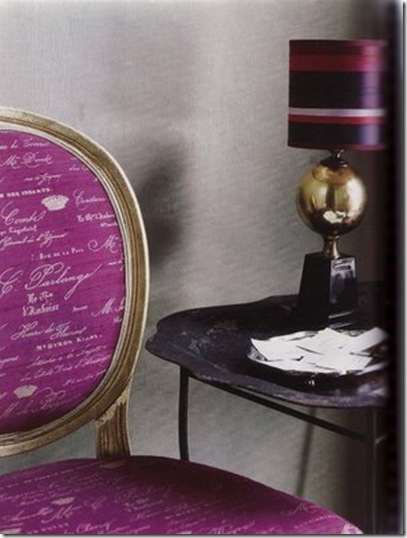
We have a funky tradition at our house…if I can ever remember to do it, that is!  I have a pair of Louis XVI dining chairs that flank either side of the buffet in the dining room.  They sat white and pristine for a few years until I decided that I would love for our family and friends to sign the chairs after a meal at our house…a unique way to remember the fun we had.  I hide a black Sharpie pen in the buffet and ask guests to put their John Hancock wherever they wish. 

IMG_1238IMG_1240IMG_1245

My original thought was inspired be Angele Parlange and her wonderful calling card fabric she created with her ancestor’s engraved calling cards from the 18th century.  I specifically told the kids not to embellish their signature with hearts, flowers, or what-not…that’ll teach me!  My only problem is that I forget to ask our guests to sign the chairs…it seems we always stay put in the kitchen or on the deck!  Oh well, I guess I will just have to have them back over!

The design is clean with a scrumptious purple dupioni silk and gold ink on a gold leafed frame.  It’s a jewel for certain!  angele2 blog

Tuesday, March 15, 2011

Brighten a Dull Corner for Spring!

IMG_1229

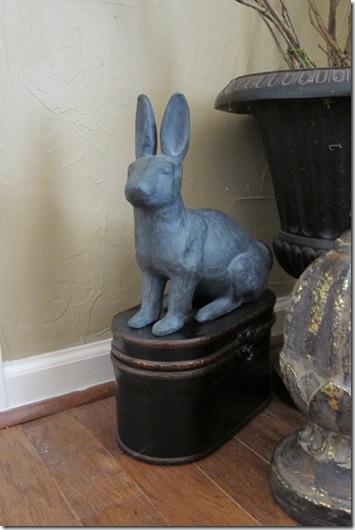
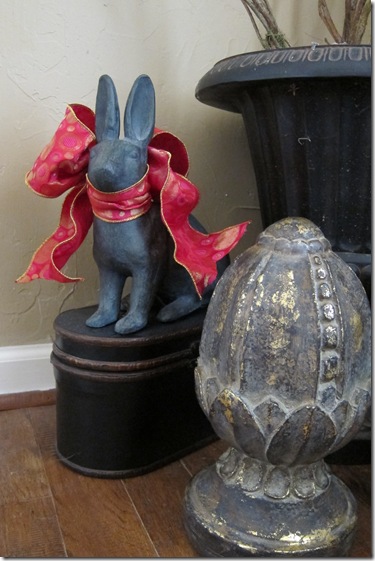
I’ve said it before…and I’ll say it again!  Add a bright, colorful bow to decorate a quiet corner in your room, an everyday object in your home for the season.  Above you will see a ceramic bunny that migrates in and out of my house as an object d’art in the spring and summertime.  I prefer adding a simple pop of color to a decorative item to incorporate the season/event being celebrated at the moment rather than a several items that add clutter and chaos.  A beautiful ribbon is just the answer.  Simple, easy to do and a quick fix! 

IMG_1233

There you go!  A pretty wired ribbon tied and shaped around the bunny’s neck is all it really needs.! 

Saturday, March 12, 2011

The Emerald Scene…

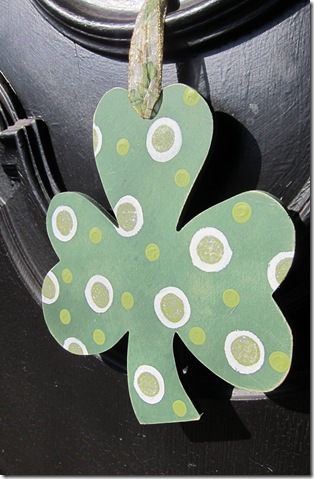
I’m a little out of whack with my St. Patrick’s decorations…guess it’s because of Lent arriving so late this year.  I don’t usually do a whole lot…there’s a lot of Ireland in my house everyday!  I’m terribly Irish with a big pinch of Italian and my English/Czech husband has adopted himself to the Emerald isle after our first trip there.  The funny thing is, the Irish don’t celebrate St. Paddy’s day the way Americans do.  It is truly a religious feast day…they go to mass and wear real shamrocks (the tiny ones not like the large leafed plants found here) pinned to their sweaters.  If they live in a big town like Dublin, Cork, Limerick, etc., it’s off to the big parade, then pop in a pub for lunch and back home.    No green beer, no ridiculous green outfits, and revelry in the streets like idiots…(well, maybe a few!)  Very refreshing if you ask me. IMG_1173

This little plaque greets one and all at our kitchen sink 365 days a year.

IMG_1171

IMG_1169

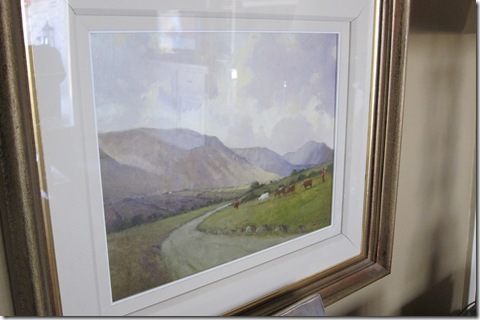
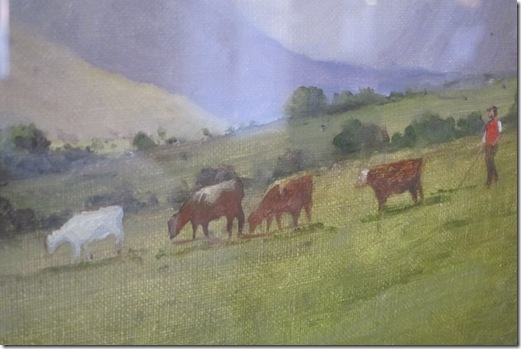
We try to purchase original Irish art when we travel there to remember our wonderful visits.  The above is a cattle farmer in the Mayo mountains on the northwestern coast.

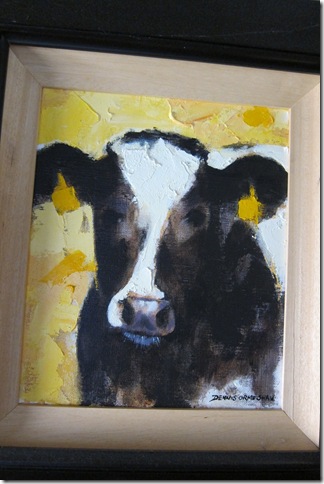
IMG_1172This heifer mooed in John’s ear…he fell in love with her…

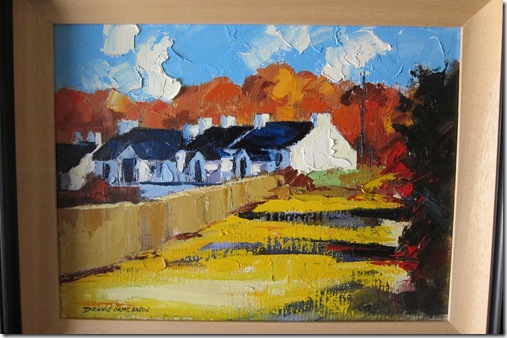
while I had to have these cottages in the autumn…

IMG_1166

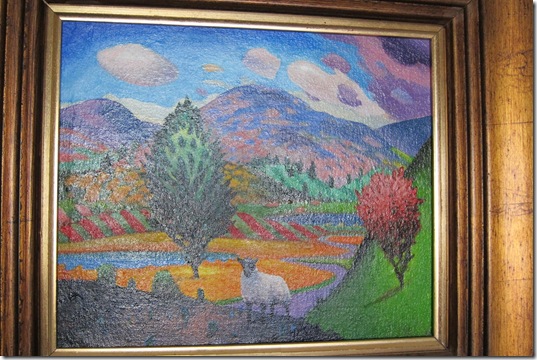
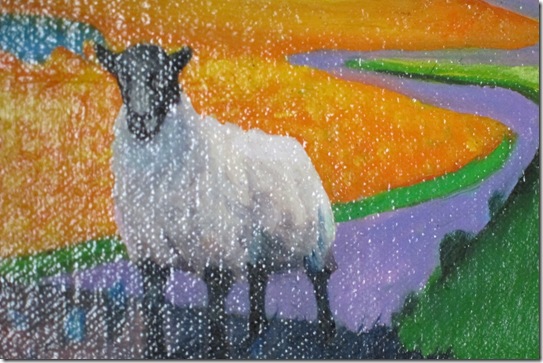
And below is another wild one of a sheep in the mountains of Connemara…

IMG_1170

IMG_1168

Lots of cows, goats and sheep in Ireland…especially sheep.

IMG_1132

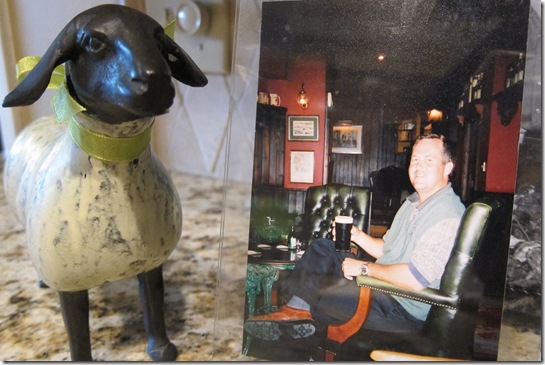
We’ve have lots of Irish mementos to remind of our Eire…sheep and Irish pints can always be found at my house…

IMG_1178

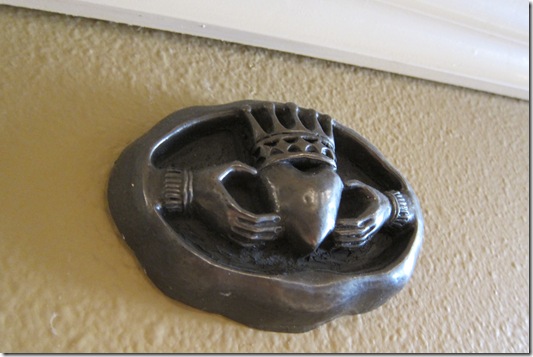
as well as claddaghs,

IMG_1174

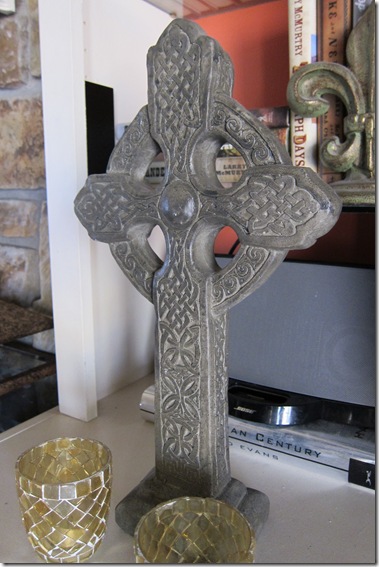
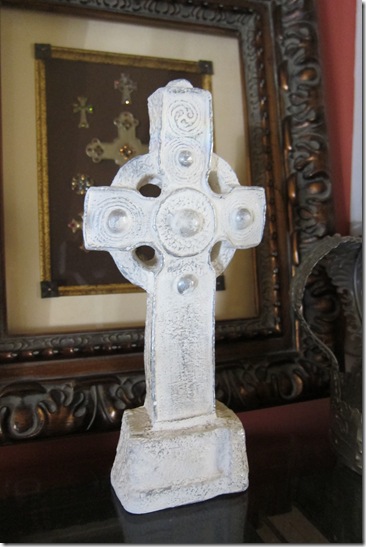
Celtic crosses,

IMG_1176


IMG_1177

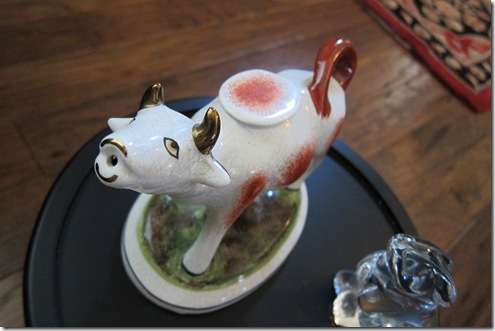
more cows,

IMG_1129

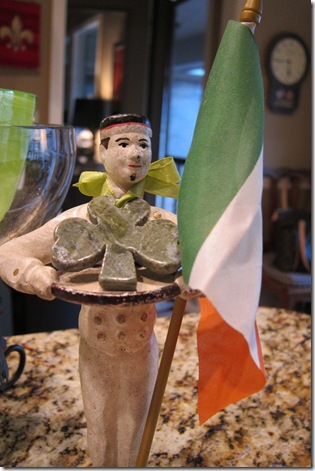
and of course, my little French waiter is decked out in his green!

IMG_1164

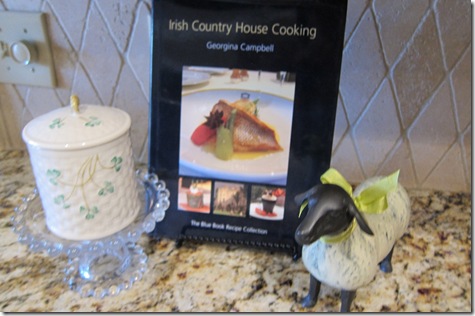
We’ll try to make a wonderful dinner from our favorite Irish cookbook…

IMG_1155

and dream of our next visit to the Emerald Isle…it can never come to quickly!

A Reflection on Numbers

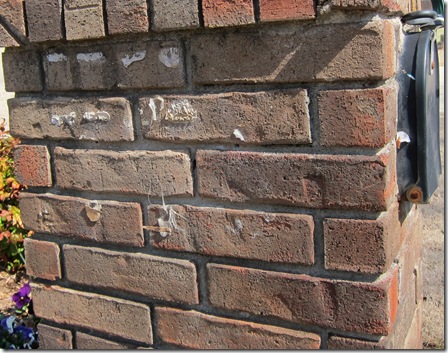
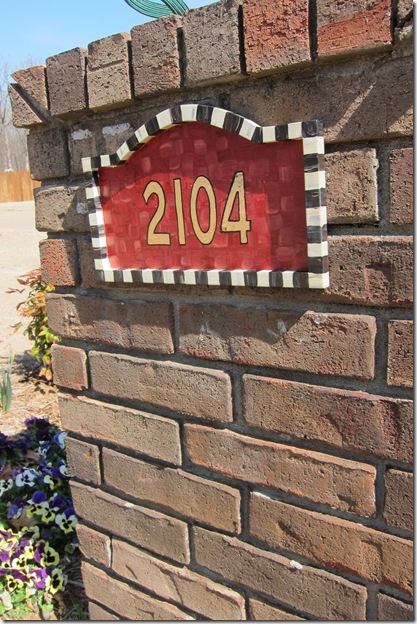
I’m in that funky group of homeowners that think whimsy beats out traditional in certain situations.  Take our mailbox, for example.  There were u-g-l-y house numbers on the side when we bought the house 10 years ago.  About 5 years ago, I decided to take those off and come out with something on my own.  I like the outside of the house to somehow give a peek at the personality of the people living inside.  John wanted me to do something in purple and gold but he lost that fight after I told him that someone would rip it down.  I plant purple and yellow pansies at the mailbox and front door every fall and that’s enough for my Tiger fan. 

I decided to do a tile mosaic of our street numbers and used black, copper and cream tiles with cream grout.  I never took a picture of it, but it did the trick and held up for 5 years…until bits and pieces fell off this harsh winter. So, back to the drawing board.  Here’s what I started out with:
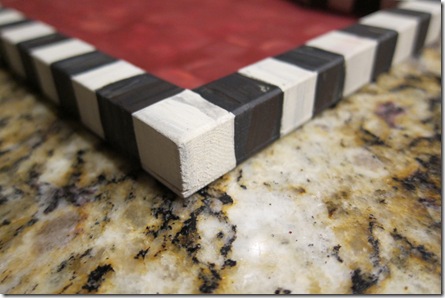
IMG_1157I bought this raw wood base from Hobby Lobby and decided it was going to reflect my love of black and white checks and a color in our living room…cinnabar.  I didn’t didn’t take pictures of the first steps (sorry!) but started by spraying the raw wood with Binzer 123 primer and them painted the raised molding a cream/white with a little gray.  Then I measures off for the black squares and painted them using black, dark brown and beige.  Yep!  I do like my Mackenzie-Childs and use their technique except for the colors of the interior as the accent colors instead of their traditional blue, gray and yellow accent paints.
IMG_1148

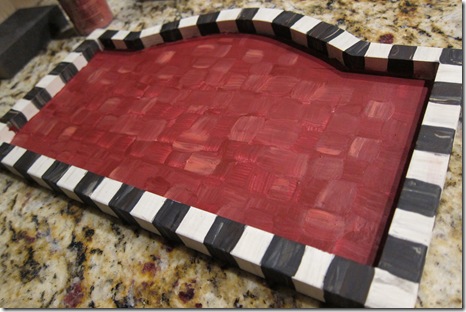
I decided to cross hatch the cinnabar color on the surface and went over this three times until you couldn’t see the white primer underneath.  I added a wine colored paint to the cinnabar paint to give it more interest.
IMG_1150Next comes the stenciling of the street numbers using a white wax carbon paper underneath my computer generated numbersIMG_1151
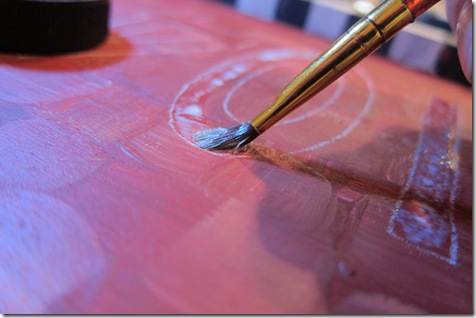
I am using gold leaf for the numbers, so the sizing is painted on first.
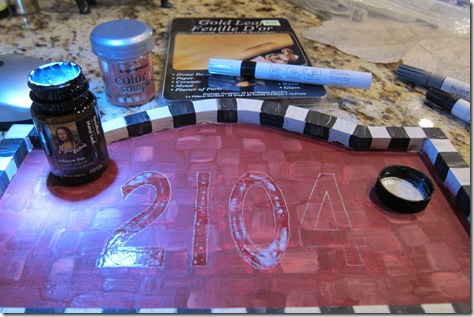
IMG_1153

Almost finished here with the painting…you have to let the gold leaf sizing dry to a tacky finish before adding the leafing. I used Mona Lisa Sizing and gold leaf.
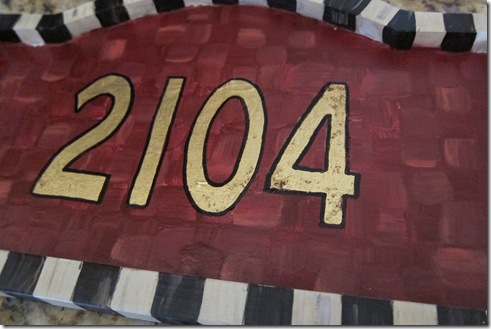
IMG_1156

I didn’t take pictures during the gold leafing stage…it gets kind of messy!  I then sprayed the front and back of the sign with an indoor/outdoor polyurethane to protect it from the weather.  Last step is to outline the numbers with a black oil based paint pen.  This should be done last because the polyurethane will make the black oil paint run if sprayed on top.
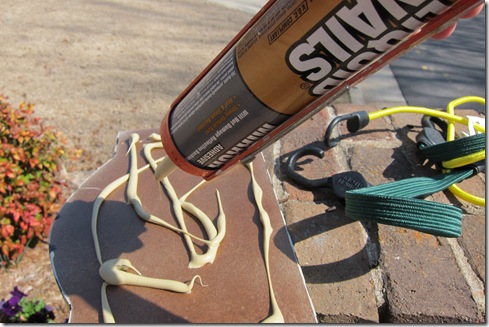
IMG_1160

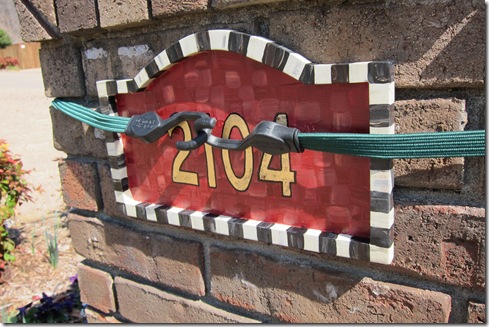
It’s pretty simple from this point…a little dab of Liquid Nails on the back…
IMG_1162

and a good strong bungee cord to keep the sign in place until it all dries in a few hours.
IMG_1161

And there you go…a unique street number sign that will hopefully get the job done!